
Are you tired of heading to the gym just to get your upper body workout in? Want to bring some of that gym magic right into your living room? An indoor pull up bar is the answer.
In this guide, we’ll walk you through the steps for installing an indoor pull up bar, so you can start exercising from the comfort of your own home.
What You’ll Need to Install Portable Pull Up Bars?
Before you jump into the process of installing your indoor pull up bar, it’s vital to gather all the essential tools and materials you’ll need. Ensuring you have everything at hand will make the installation go more smoothly and can save you trips to the hardware store in the middle of the project.
Here’s a more detailed list to guide your preparations:
- Indoor Pull-Up Bar Kit
This is the star of the show. Your kit should include the pull-up bar itself, as well as any brackets, screws, or bolts needed for installation. Read through the instruction manual that comes with it, so you know what to expect.
- Measuring Tape
Accurate measurements are crucial when it comes to installing your indoor pull-up bar. You’ll need to measure the distance between wall studs, the height at which you place the bar, and possibly the diameter of the holes for wall anchors.
- Pencil
A pencil is indispensable for marking your measurements on the wall. These marks will guide you throughout the installation process, helping you place the indoor pull up bar precisely where it needs to go.
- Level
A level ensures that your pull-up bar will be perfectly horizontal. This is not just about aesthetics; an uneven pull-up bar can throw off your form and possibly lead to injuries.
- Screwdriver or Drill
While a manual screwdriver can work, an electric drill will make the job quicker and easier. You’ll use this tool to fasten screws or bolts into the wall studs, securing your pull-up bar in place.
- Wall Anchors
These provide additional support and are especially useful if you’ll be installing the bar on a wall that’s made of a softer material, like drywall. Wall anchors help distribute your weight more evenly, making your indoor pull up bar safer to use.
- Stud Finder
This handy device helps you locate the studs on your wall. Wall studs provide the strongest anchor points for your pull-up bar, ensuring it can safely support your weight while you work out.
Once you’ve gathered all these items, you’ll be well-prepared to start the installation of your new indoor pull-up bar. By having all your tools and materials ready, you set the stage for a successful, hassle-free installation.
Step 1: Find the Right Spot
Choosing the right spot for your indoor pull-up bar is crucial. Pick a wall that is strong enough to handle your weight and is free from obstructions like light fixtures or wall art. Use a stud finder to locate the wall studs, as these will give your pull-up bar the support it needs.
Step 2: Take Measurements
Use a measuring tape to find out how high you want the indoor pull up bar to be. Mark this height with a pencil. Also, note down the distance between the wall studs, which will help you understand how to align your indoor pull-up bar.
Step 3: Check for Level
Place the level against the wall to make sure your markings are straight. If they’re not, adjust them before you go any further. A crooked pull-up bar is not just unsightly; it can also be a safety risk.
Step 4: Install Wall Anchors
If your kit comes with wall anchors, this is the time to install them. Wall anchors give extra support and make your indoor pull-up bar more secure. Follow the instructions that come with your kit to fit them correctly.
Step 5: Secure the Bar
Place your pull-up bar against the wall, aligning it with the markings and wall studs. Use a screwdriver or drill to secure the bar onto the wall. Make sure it’s tightly fastened to avoid any accidents.
Step 6: Test It Out
Before you begin your first set of pull-ups, give the bar a few tugs to make sure it’s firmly in place. It’s better to be safe and double-check everything.
Conclusion
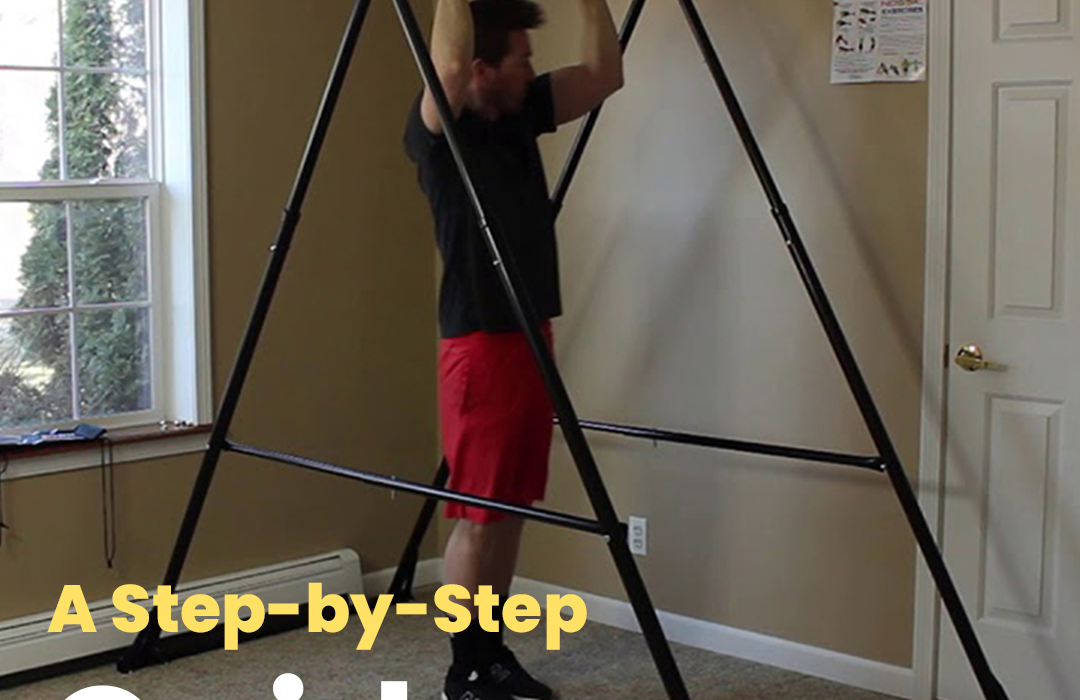
Installing an Indoor Pull up bar is a straightforward process if you follow these steps. It gives you the convenience to exercise whenever you like, without heading to the gym. With options ranging from doorway bars to wall-mounted and portable pull-up bars, you can choose one that best fits your needs. Now you’re all set to enjoy your new pull bars for home setup!