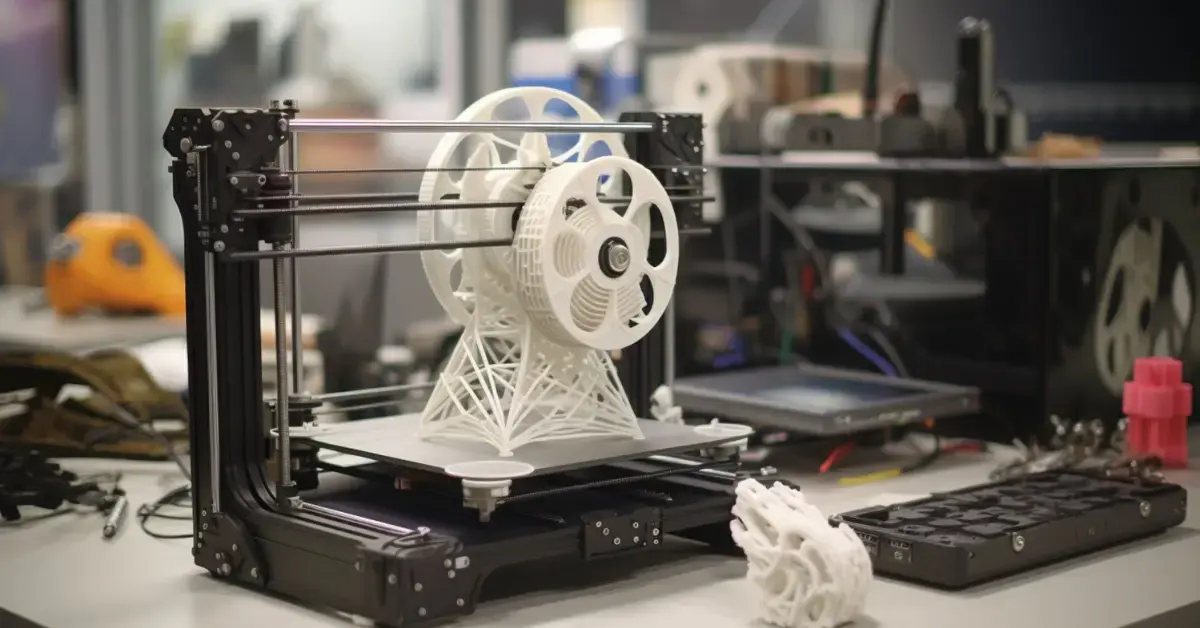
Hey there, fellow printer enthusiast! Are you ready to take your Ender 3 printing game to the next level? Whether you’re a seasoned pro or just starting out, mastering the art of 3D printing can be a thrilling journey. In this guide, we’ll explore some top tips and tricks to help you unleash the full potential of your Ender 3 printer. Let’s dive in!
Understanding Your Ender 3 Printer
Before we dive into the tips, let’s get acquainted with your trusty Ender 3 printer. Whether you have the Ender 3, Ender 3 Pro, or Ender 3 V2, these printers share similar features and functionalities.
1. Ender 3 Pro Printer
The Ender 3 Pro is known for its affordability and reliability. It comes with a sturdy frame, heated print bed, and compatibility with a wide range of filaments.
2. Ender 3 V2 Printer
The Ender 3 V2 boasts upgrades such as a silent mainboard, a glass print bed, and a redesigned user interface. It’s perfect for those seeking enhanced performance and convenience.
3. Ender Resin Printer
If you’re into resin printing, the Ender resin printer offers high-resolution printing and incredible detail. It’s a fantastic choice for intricate models and miniatures.
Now that we’re familiar with the basics, let’s move on to some tips for mastering prints with your Ender 3 printer.
Tip 1: Leveling Your Print Bed
Ensuring that your print bed is properly leveled is crucial for successful prints. Use a piece of paper or a feeler gauge to adjust the bed’s height until there is just the right amount of resistance between the nozzle and the bed.
Tip 2: Fine-Tuning Your Slicer Settings
Experimenting with slicer settings can significantly impact print quality. Play around with parameters such as layer height, print speed, and infill density to achieve optimal results for your specific model.
Optimizing Supports
When printing models with overhangs or intricate geometries, strategically placing supports can prevent print failures and improve overall quality.
Tip 3: Choosing the Right Filament
The type of filament you use can make a world of difference in your prints. Whether you prefer PLA, PETG, or exotic filaments like wood or metal-infused, selecting the right filament for your project is key.
Filament Storage
Properly storing your filament in a dry and dust-free environment can help prevent moisture absorption and ensure consistent print quality.
Tip 4: Calibrating Your Printer
Regular calibration checks are essential for maintaining print accuracy and consistency. Take the time to calibrate your Ender 3’s extruder, hotend temperature, and stepper motors for optimal performance.
Tip 5: Post-Processing Techniques
After printing, don’t forget to apply post-processing techniques such as sanding, painting, or smoothing to add the perfect finishing touches to your models.
Smoothing with Acetone (For ABS Prints)
If you’re working with ABS filament, smoothing the surface with acetone vapor can help eliminate layer lines and create a polished finish.
Tip 6: Upgrading Your Printer
Consider upgrading your Ender 3 with aftermarket components such as a silent mainboard, upgraded hotend, or auto-leveling bed to enhance performance and reliability.
Tip 7: Maintenance and Care
Regular maintenance and cleaning of your printer are essential for prolonging its lifespan and ensuring consistent print quality. Keep your printer well-maintained to avoid unexpected breakdowns.
Lubricating Moving Parts
Applying lubrication to moving parts such as the lead screws and bearings can reduce friction and improve overall printer performance.
Tip 8: Joining Online Communities
Joining online forums and communities dedicated to 3D printing can provide valuable insights, troubleshooting tips, and inspiration for your projects. Connect with fellow enthusiasts and share your experiences!
Conclusion
Congratulations! You’re now equipped with a toolbox full of tips and tricks to master prints with your Ender 3 printer. Whether you’re fine-tuning slicer settings, experimenting with different filaments, or upgrading your printer with aftermarket components, remember that patience and persistence are key. Embrace the learning process, and soon you’ll be creating stunning prints that showcase your creativity and craftsmanship. Happy printing!
Facebook Page


